I am happy to tell you all that I have yet another Emily's T-skirt Tutorial to share with everyone of the inter-webs. This is the first of 3 T-skirts I've made on my up-cycling rampage. For this T-skirt I wanted a comfy skirt, to get stuff done around the house in.
A couple weeks ago I asked my husband if he was ever going to wear this shirt again, he said
"No."
So I tossed into the bag with all the other T-shirts that are awaiting for a re-purposed life. I love how soft the sweater like material is, I knew that one day it would become something great!

The first thing I did to make my new T-skirt, is lop off the sleeves from armpit to armpit in a nice straight line. I kept the top piece that I cut off, I think it could make a cute cropped sweater shrug............
From there I tried on the tube and measured how short I'd like the skirt to be and folded the waistline hem accordingly, I then hem stitched it almost all the way, leaving a section open to thread the elastic waistband.


I then took rubber band and measured a waistband that sat snugly on my hips.

I couldn't find a safety pin so I attached a pipe cleaner to the end of the waistband instead and pushed it through the waist hem by scrunching the fabric like this and then pulling it through.

OH, I also attached this little stationary clip to the tail end so it wouldn't pull through while I was threading the waistband.


Once I had completed threading the waist band I attached another clip like this (above left pic) and was able to flatten any flips in the waistband without the elastic slipping back inside. Once I was sure the elastic band was nice and flat I sewed the two ends together. (above right pic)
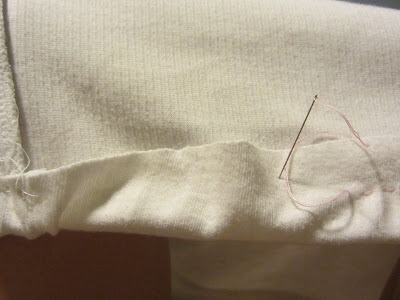
The last step in finishing my T-skirt was to sew the waistband up. In 6 easy steps, and ten minutes of sewing by hand and I have my very first T-Skirt! Find another T-skirt Tutorial here.
 |
| front |
 |
| back |
-Until next time, stay cool, stay comfortable, stay you!


No comments:
Post a Comment